
Installing Apps & Plugins
On this page
In this lesson, you will learn:
- How to install an app or activate a plugin with the Application Manager
- A second way to add plugins to your PDI
- The rules to follow before installing anything in a real company
1 The Application Manager
In Lesson 7.1, you found System Applications > All Available Applications > All. This page is where admins install apps and activate plugins. Let’s use it! 🛠️
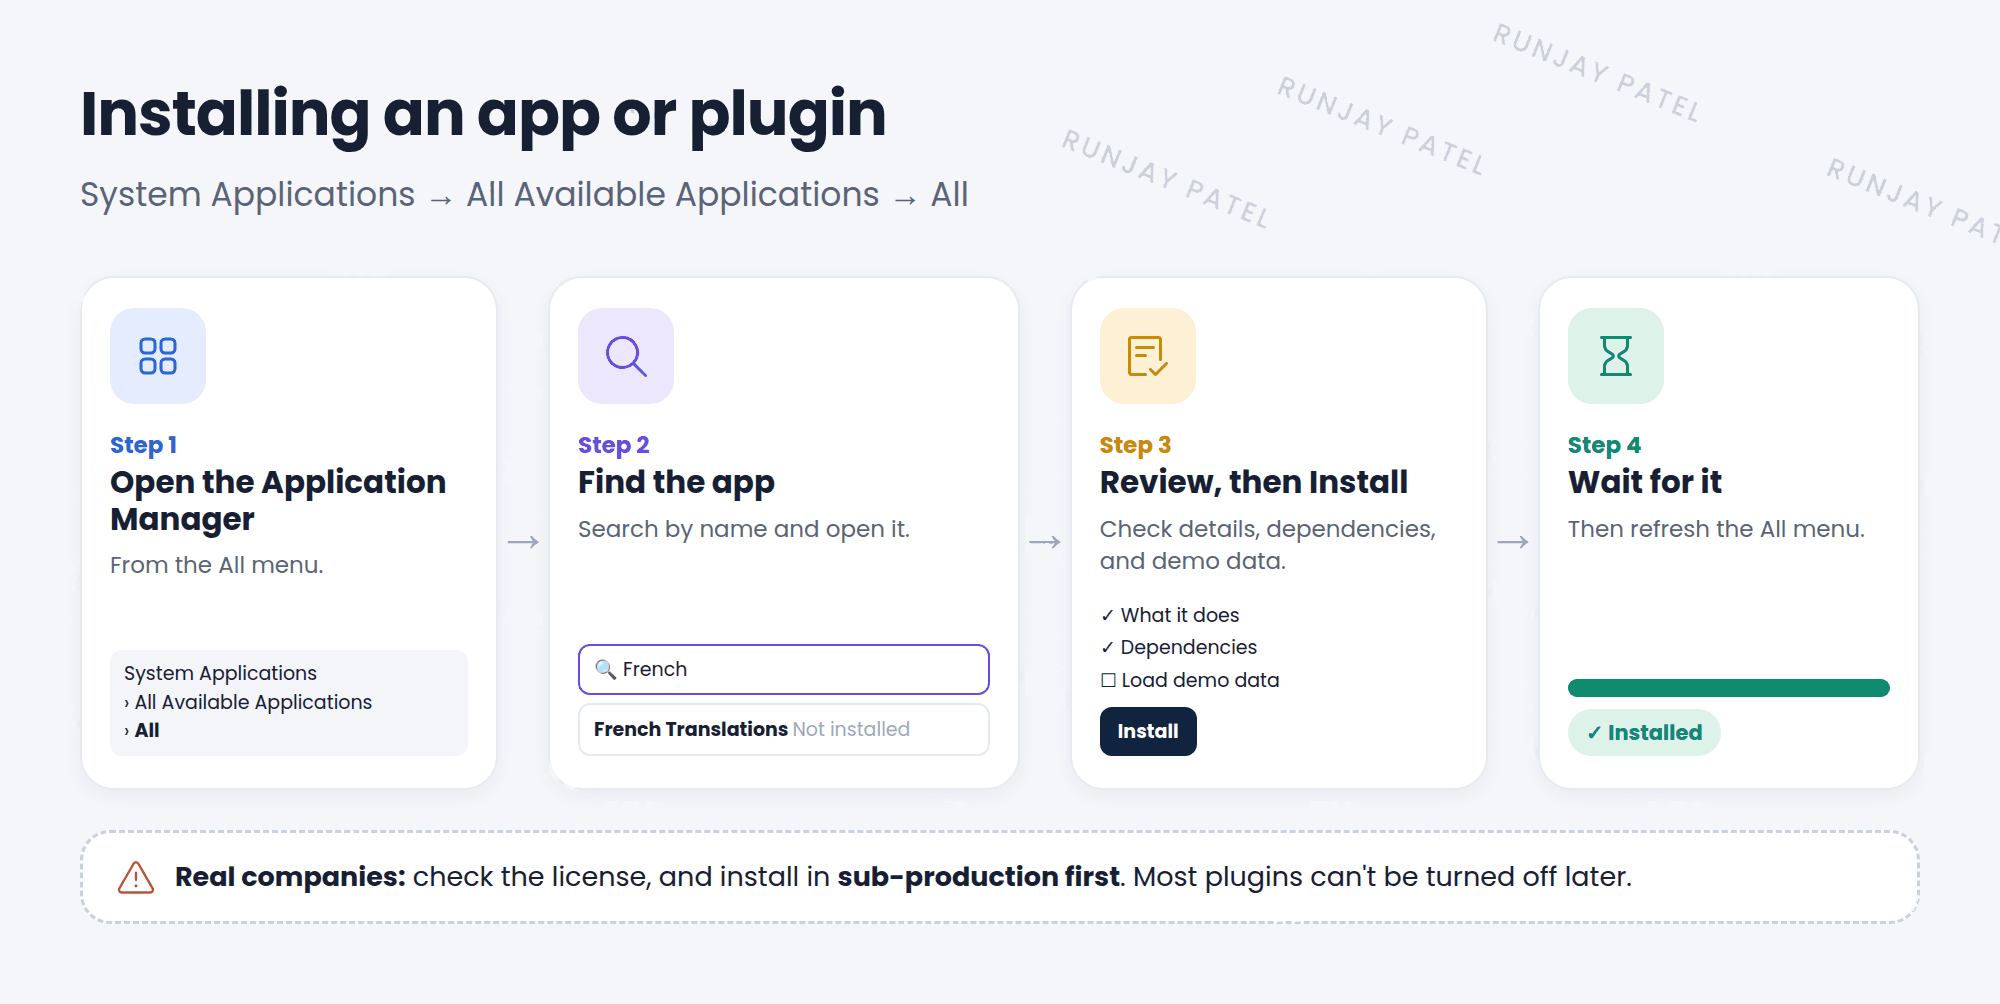
2 Install from the Application Manager
- Click All and go to System Applications > All Available Applications > All.
- Search for the app or plugin by name.
- Click it to see its details: what it does, its dependencies, and its license notes.
- Click Install (or Activate). A window shows what else will be installed with it.
- Choose whether to load demo data (Lesson 7.3), then confirm.
- Wait. A progress bar shows how it’s going. Big apps can take a while. ⏳
- When it’s done, the app shows as Installed. Refresh the All menu to see its new menus.
💡 Good to know: After installing, click the refresh icon in the All menu (or reload the page) so new menus show up.
3 Another way for PDIs
For your PDI only, you can also activate plugins from the developer site:
- Sign in to
developer.servicenow.comand open Manage my Instance. - Find the option to activate plugins, and search for the plugin.
- Choose to activate it, with or without demo data.
📝 Note: Some plugins can’t be activated on a PDI. If you can’t find one, it may be a paid-only feature.
4 Rules for real companies
In your PDI, install whatever you like. In a real company, follow these rules:
- Check the license. Only install what the company has paid for.
- Install in sub-production first. Dev, then Test, then Prod. Never try it in Prod first.
- Read the docs. Know what the app adds and what it changes.
- Check dependencies. Know what else gets installed with it.
- Plan the time. Big installs can slow things down. Do them at a quiet time.
⚠️ Heads up: Most plugins can’t be turned off once activated. Think before you click Install in a company instance!
5 Let’s try it: add French
- Open System Applications > All Available Applications > All.
- Search for
Frenchand open the French language plugin. - Look at its details and dependencies. Then click Install (or Activate) and confirm.
- Wait until it’s finished.
- Open Preferences > Language and region. Can you now pick French? Try it, then switch back to English. 🇫🇷
6 Quick recap
- Install apps and activate plugins in System Applications > All Available Applications > All
- Check details, dependencies, and the demo data option before installing
- PDIs can also activate plugins from the developer site
- In real companies: license first, sub-production first
- Most plugins can’t be turned off afterwards
7 Check yourself
Think of your answer first. Then tap to check.
1 Where do you install a store app in your instance? Show answer
System Applications > All Available Applications > All.
2 SNWR wants a new app. Where should you install it first? Show answer
In a sub-production instance, like Dev. Never in Prod first.
3 You installed an app, but its menu isn’t showing. What do you try first? Show answer
Refresh the All menu or reload the page.
Nice work! You finished this lesson. 🎉
Was this lesson helpful?
Please log in to share lesson feedback.
Have a question or doubt?
Ask here and get help from instructors and fellow learners.
Only logged-in learners can post.