
Adding & Configuring Related Lists
On this page
In this lesson, you will learn:
- How to add or remove related lists on a form
- How to change a related list’s columns
- How to control buttons like New and Edit in a related list
1 Choosing the related lists
Admins decide which related lists show at the bottom of a form, and in what order. You use a tool that looks just like Form Layout: two lists and arrows. 🎚️
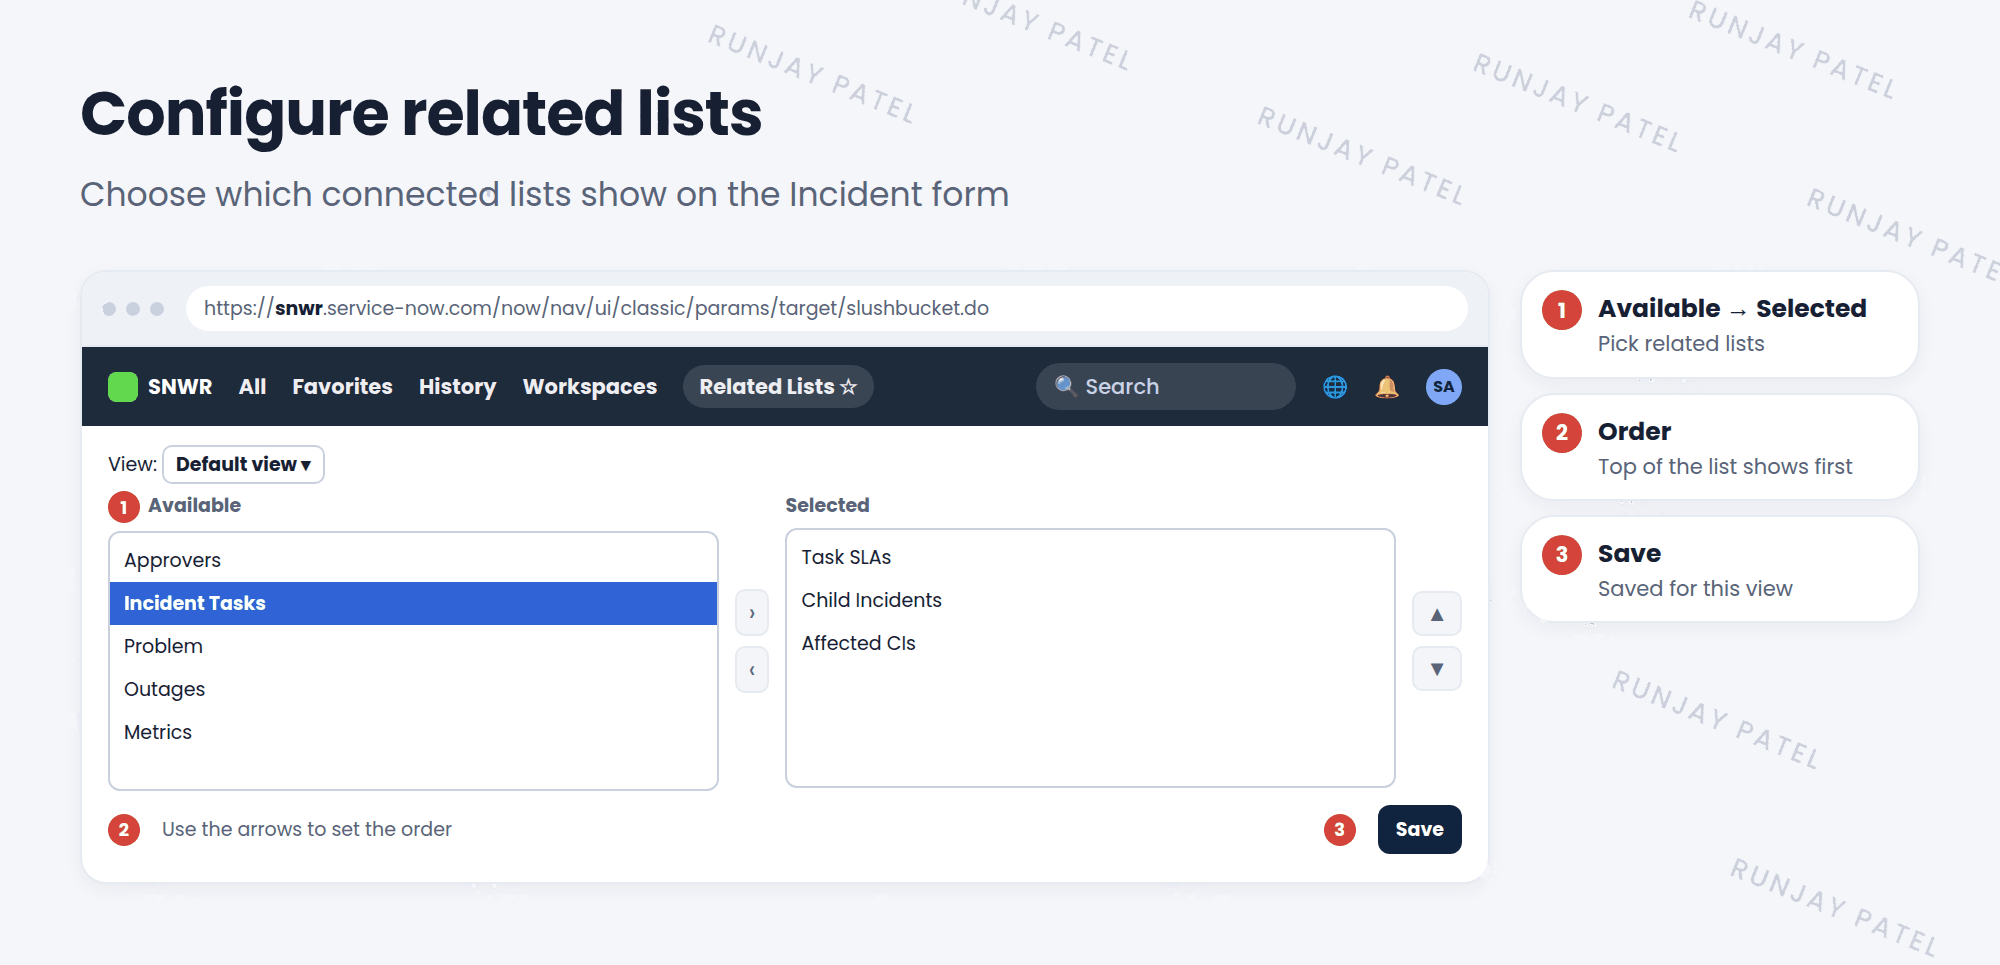
- Open a record, like any incident.
- Open the context menu (☰) and choose Configure > Related Lists.
- Move lists from Available to Selected, or back.
- Use the up and down arrows to set the order.
- Click Save. ✅
📝 Note: Like form layouts, related lists are saved per view (Chapter 15). Check which view you’re changing.
2 Changing the columns
A related list is a list, so you can change its columns the same way as any list (Lesson 12.3):
- Scroll to the related list on the form.
- Right-click one of its column headers.
- Choose Configure > List Layout.
- Pick the columns and save.
3 Controlling the buttons
With Configure > List Control on a related list, you can change what users are allowed to do in it:
| Option | Why use it |
|---|---|
| Omit new button | Stop people from creating records from here |
| Omit edit button | Stop people from adding or removing links from here |
| Disable list editing | Stop inline changes in this related list |
💡 Good to know: Too many related lists slow down the form, because each one has to load. Only show the ones people really use.
⭐ Remember: Configure > Related Lists = which lists. List Layout = which columns. List Control = which buttons.
4 Let’s try it: tidy the incident form
- Open any incident. Choose ☰ > Configure > Related Lists.
- Look at what’s selected. Add Incident Tasks if it’s not there. Save.
- Scroll down. Right-click a column header in Task SLAs and choose Configure > List Layout. Look at the columns, then cancel.
- Put the related lists back the way they were.
5 Quick recap
- Add, remove, and order related lists with Configure > Related Lists
- They’re saved per view
- Change columns with List Layout on the related list
- Control New, Edit, and list editing with List Control
- Fewer related lists = faster forms
6 Check yourself
Think of your answer first. Then tap to check.
1 How do you add a related list to the incident form? Show answer
Open the form’s context menu and choose Configure > Related Lists.
2 You don’t want people creating child incidents from the related list. What do you use? Show answer
List Control on that related list, with Omit new button.
3 Why not add every related list to a form? Show answer
Each one has to load, so too many make the form slow and cluttered.
Nice work! You finished this lesson. 🎉
Was this lesson helpful?
Please log in to share lesson feedback.
Have a question or doubt?
Ask here and get help from instructors and fellow learners.
Only logged-in learners can post.